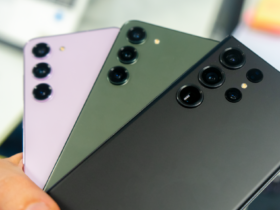
A high-end Android device with 108 megapixels is undoubtedly cool to have. But you really don’t have to own a high-quality camera to shoot great images. Sometimes simplicity is the key to success.
In fact, you can take great pictures on any Android smartphone. While the number of megapixels obviously helps, there is a lot you can do yourself as a photographer to take your photos to the next level.
Become a real photographer with just your Android device
With the right combination of features and techniques, you can take photos on a budget phone that are indistinguishable from a high-end one. Follow these simple tips and tricks to learn how to take great photos on an Android smartphone.
#1 Clean your camera lens properly
Many people forget, but it’s super important to keep your Android’s camera clean. Over time, dust or dirt can get on your lens, and that causes your photos to look blurry.
Fortunately, you can solve this problem by wiping your lens with a microfiber cloth. These are very soft and won’t leave scratches. If you have stubborn stains, you can use a lens cloth with a little isopropyl alcohol. This dries quickly, so you don’t have to worry about getting moisture into your phone.
#2 Adjust the exposure of your Android
With the help of your Android’s focus settings, you determine where the lens should focus. You do this very simply by clicking on the area the lens should focus on. If you take pictures in low light, you can increase your camera’s exposure to get brighter pictures.
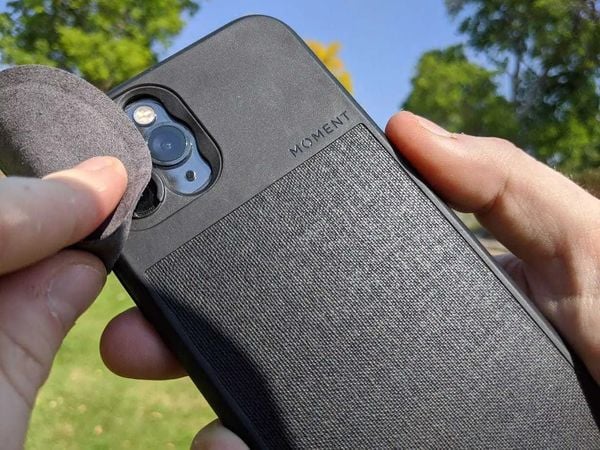 Clean up but (Image: Photos with Phones)
The more light hits the sensor, the brighter the image becomes. But beware! If you adjust it too much, your photos may become overexposed or underexposed. You can control this on your Android smartphones by tapping the screen. A slider will appear next to the focus circle. Then drag the sun icon to adjust the exposure.
#3 Use natural light
If you take photos on an Android, you can adjust exposure and flash settings to make your photos brighter. But it’s nicer (and easier) to use natural light. You can use the sun for cool effects if you take photos at the right time of day. So pound the times below into your head extra carefully.
Golden hour: The best time to take photos is half an hour before the sun sets or just after sunrise. The sun then causes the photos to take on a golden color.
Midday: Around noon and shortly after lunch are not good times to take pictures. The light is too bright then and creates sharp shadows.
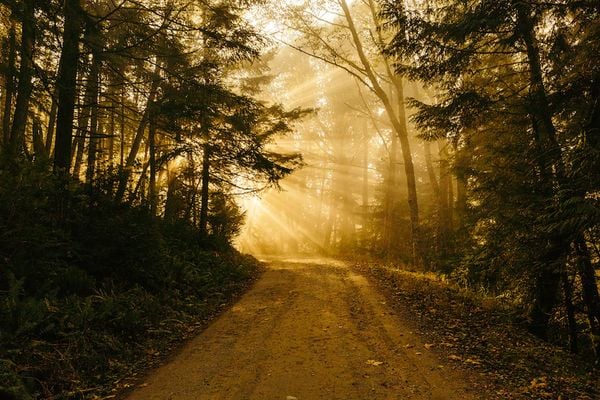 The beautiful Golden hour (Image: Patrick Fore/Unsplash)
Blue hour: This is also called “twilight. This happens about 20 to 30 minutes after sunset and before sunrise. It gives your photos a blue color that is perfect for photographing cityscapes.
#4 Look closely at the grid lines on your Android
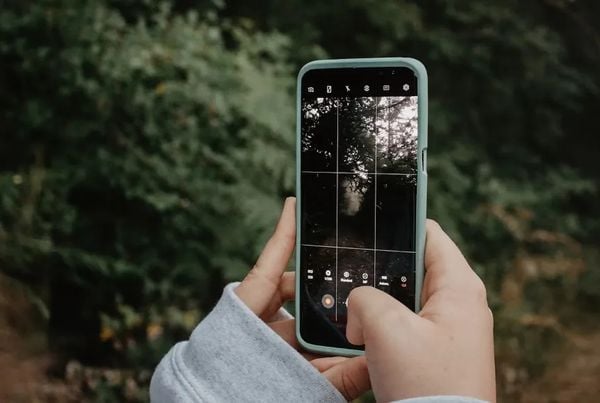
Grid lines are the horizontal and vertical lines you see when you open the camera. They are important when you take a picture of a cityscape or landscapes. Grid lines help you see if your camera is skewed and how to adjust it. That way you don’t have to edit and crop the photo later.
Use the rule of thirds here. This means that you don’t place your subject in the center of the photo, but along the left or right lines. On most Androids there are nine boxes, so two horizontal and two vertical lines. It makes your photo more interesting and provides more balance.
#5 Post-edit your photos.
Your Android’s camera app has many features, but there are limits. You can take good photos with the basic settings, such as exposure, aspect ratio and filters. But if you want more effects and features, it’s useful to install another app.
 The handy tool (Image: Unsplash)
We recommend that you try Adobe Photoshop or Adobe Lightroom. With both applications, you have a huge number of options in terms of post-processing and you can easily save them afterwards. You just have to pay for them. If you are looking for a free version, choose Snapseed.


