Thanks to Airdrop, transferring photos is incredibly easy between devices from the Apple ecosystem. Then again, that doesn’t include Windows. What if you want to transfer your iPhone photos to a Windows PC? There’s an easy solution for that, too!
It may be a little trickier than transferring photos between different Apple devices, but it’s certainly not impossible. AirDrop simply does not work on non-Apple devices. You can send photos via WhatsApp, of course, but then the original file size is lost. And that is an eternal shame!
iPhone: this is how to transfer photos to Windows
Apple devices use a unique file type by default, making it more difficult to transfer photos to non-Apple devices. When you take photos with your iPhone, those images are saved in HEIF. This file type is much smaller than JPEG, for example, which makes it easier to send and takes up less space. Still, there are some drawbacks, namely that HEIF files cannot be opened properly on Windows PCs.
Fortunately, Apple itself has a solution for that, so you don’t have to download any strange apps or dodgy programs. Transferring this way is not as easy as via Airdrop, but it is still a fine method.
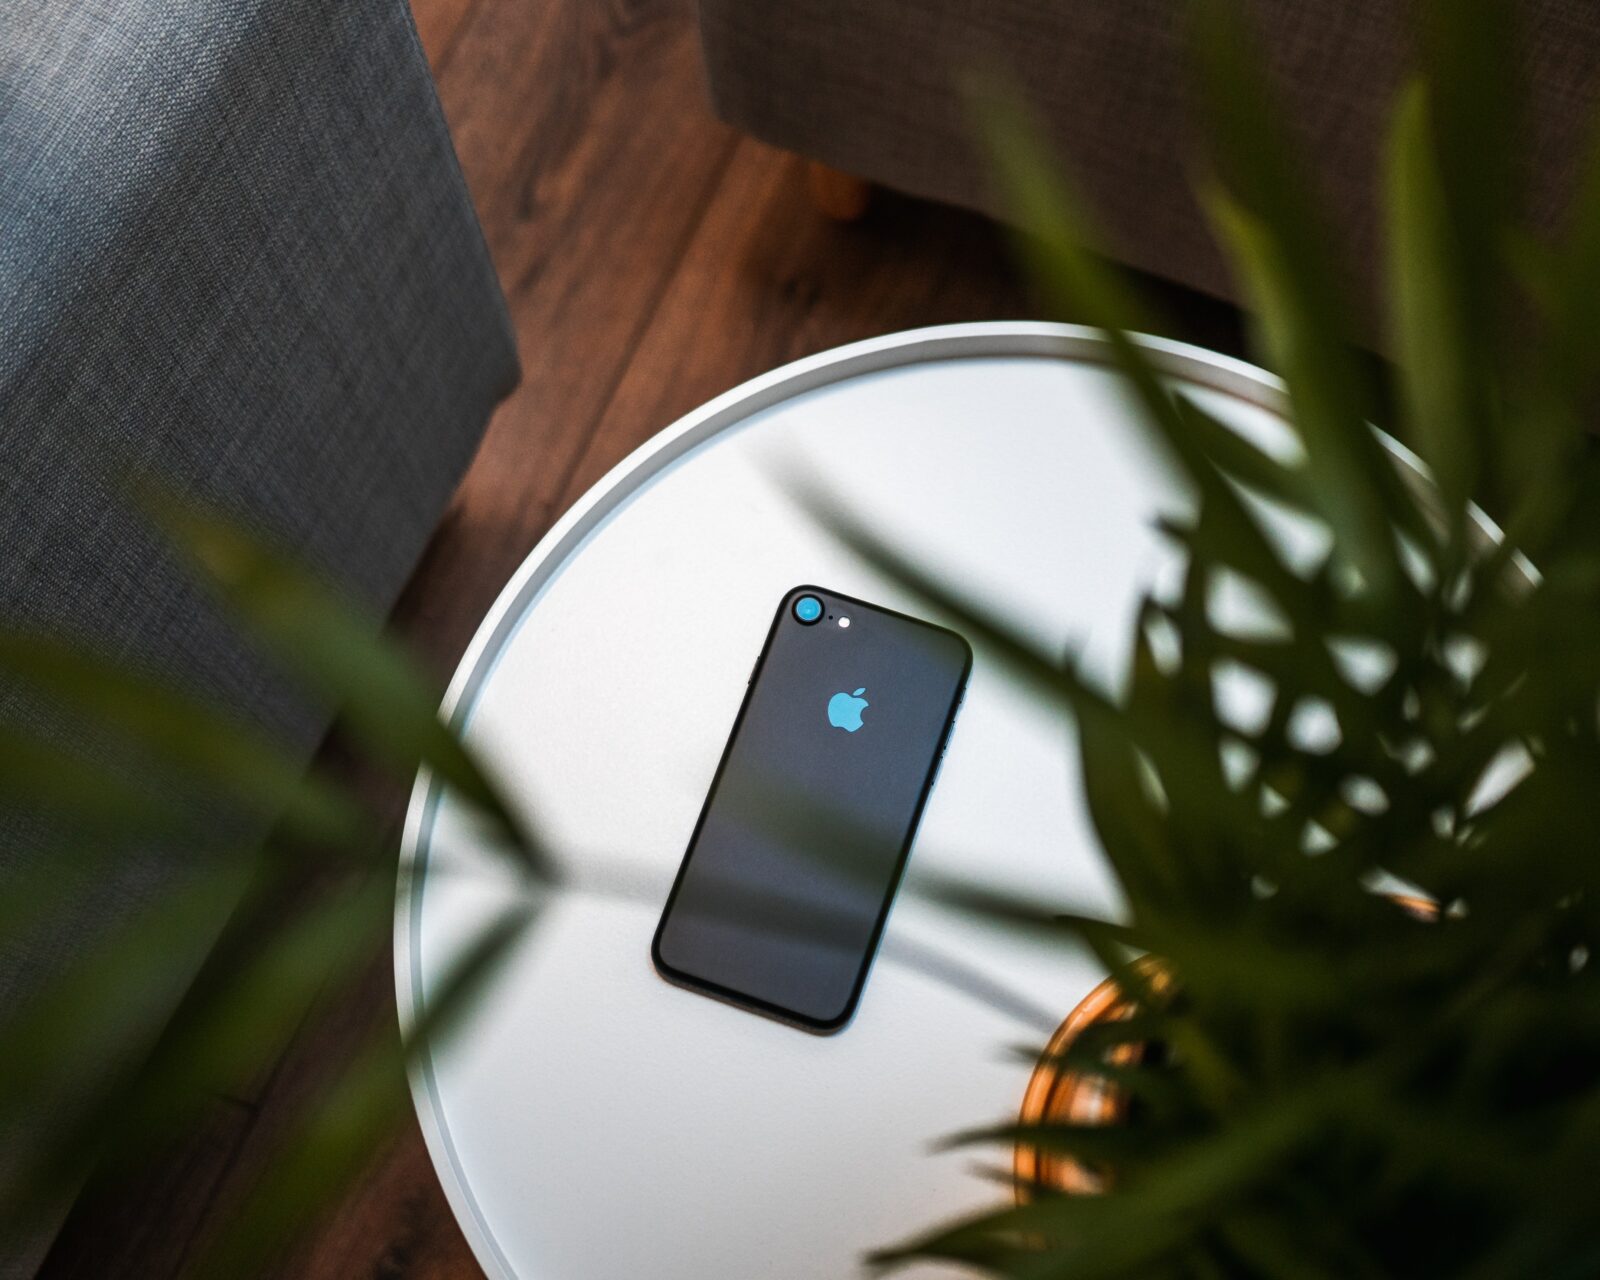
 A delightful combination (Image: Dennis Brendel / Unsplash)
iTunes is your friend
To transfer photos and videos from an iPhone to a Windows PC, it is therefore necessary to use, yes, iTunes. Once more popular than Spotify, this app was widely used to set up Apple devices in addition to music library. On iPhones, you no longer see anything of iTunes, as it has been divided into three different apps: Apple Music, Apple TV and Apple Podcasts.
You can, however, use iTunes on Windows PCs to transfer data from your Apple device to your desktop or laptop. The latest version of iTunes can be downloaded from Apple’s Web site and the Windows Store.
Transfer works like this
Connect your iPhone to your PC via a USB cable. Next, you need to specify that your Windows PC is a trusted device or you won’t be able to proceed. Once you’ve done this, on the Windows PC, open the Start menu and select (or search for) Photos. Then select Import and choose From a USB device. The name you gave your iPhone will appear.
Then you can select which photos and videos you want to transfer. Of course, you can also download them all at once. However, it is useful to know that all photos that are in iCloud – and thus not offline on your iPhone itself – are not displayed. Therefore, you must first transfer these photos to your iPhone’s local storage before you can move them to your Windows PC.


