It’s no secret that Adobe Photoshop is one of the best options for editing photos. With the help of hundreds of tools, you can turn almost any photo into a masterpiece. But there is also a downside: the editing software has so many features that it is sometimes hard to find them.
That’s why we take a look at the five most important tricks you need to know to get the most out of Adobe Photoshop. Even if you’re a beginner, with help from these tips you can probably get started.
5 Adobe Photoshop tricks you don’t want to miss
Before we get started with the Adobe Photoshop tips, it’s important to remember that editing your photos is a lot easier if your photo looks professional. So take the time to take a good photo first.
#1 Easy selection
Selecting object in Adobe Photoshop is not very difficult in itself. It can only be done much more efficiently and quickly. There are several selection tools for this. For example, the rectangular selection frame. This tool selects everything within a square. And with the lasso you can draw any shape you want.
For more detailed selections, you can use three selection tools on the fourth slot of the toolbar. If you hold down the mouse, you can switch between the three options: object selection, the Quick Selection Tool and the Magic Wand Tool.
#2 Erase imperfections from a photo
Sometimes you take a great photo, but there’s just an ugly object in the background. Very irritating… Fortunately, Adobe Photoshop can easily help you get rid of these ugly distractions. You do this with the help of the retouching brush.
With the help of this tool, you can correct imperfections by using pixels from another part of the photo. The further you zoom in the photo, the more accurately the retouching brush can do its job.
#3 Get the perfect color and exposure with help from Adobe Photoshop
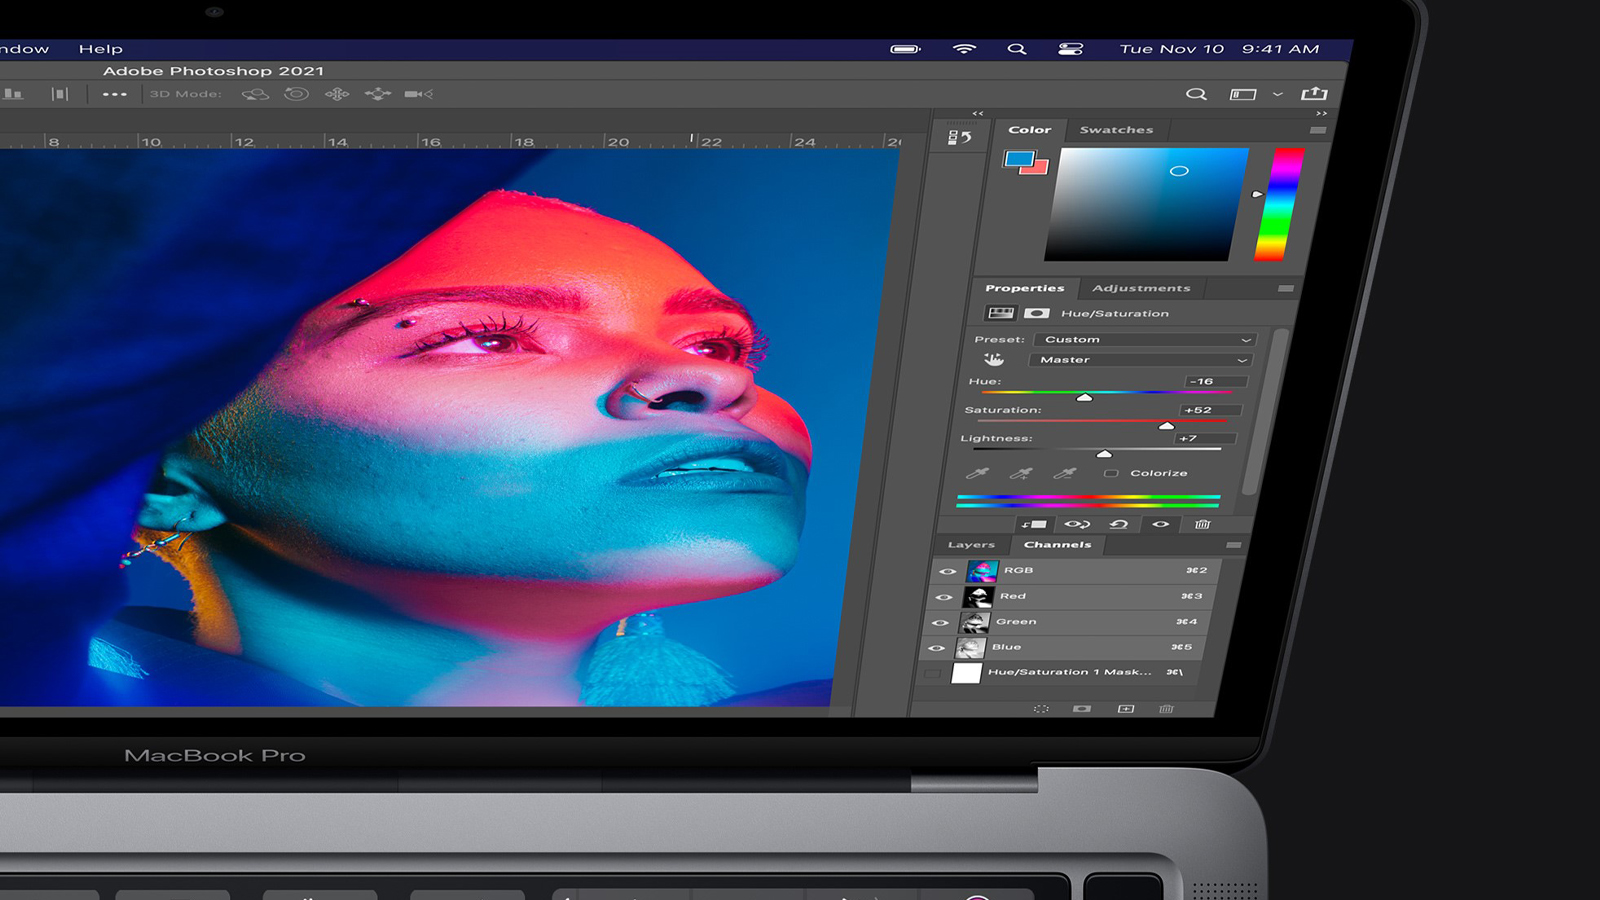
When you take a picture, it often happens that the slightly darker or lighter than you would like it to be. Adobe Photoshop has a solution for that. Namely, you can use adjustment masks to adjust various elements of your images without permanently altering the original photo.
There are several adjustment masks to choose from, but the main ones include: Brightness/Contrast and Hue/Saturation.
#4 The three most important filters: sharpen, blur and dehaze
Filters in Adobe Photoshop are more than just choosing pretty colors. You have many different settings that you can play with endlessly. The options you really don’t want to miss are: sharpen, blur and dehaze.
As the name implies, “sharpening” increases the focus of your image making the shot look clearer. This can sometimes save a photo if it is just out of focus. But don’t expect it to work wonders if the photos are very blurry.
You can use the blur filter to blur elements of your photo so that the most important parts of your photo stand out. Dehaze probably requires a bit more explanation. The option helps you remove haze and noise from a photo so that the image looks clearer. For example, this is very useful if you have a photo that shows reflective sun rays.
#5 Drawing with Adobe Photoshop
Many people do not know that in Adobe Photoshop you can also draw great. For example, with the help of an iPad or drawing tablet. To make sure the brushes look perfect, you need to adjust the coverage and flow.
These adjustments are located at the top of the Photoshop window. Coverage determines how transparent brush strokes are, while flow allows you to build on lines so that the color gets darker with each pass over.


