There’s a good boy in a restaurant today who can look at a beautifully prepared dish without immediately reaching for his phone. And while we used to take food photos, food videos are gaining ground on social media. But how do you make really cool food videos with your iPhone? The colleagues from Culy received an exclusive master class from Apple and discovered one brilliant tip after another.
And we’d love to share them with you.
9 tips for making food videos with your iPhone
Whether you’re filming for TikTok or Instagram (or for your mom), if you’re making a food video, you want it to look as slick as possible. Some people are more skilled at this than others, but fortunately there are clever tips and tricks that everyone can benefit from.
Culy was able to sit in on an exclusive master class hosted by Apple, which was given by two ladies who make inspiring videos with their iPhones every day: Geertje Algera (mobile journalist) and Esther Ofori-Mantey (food commerce student and social media talent). We collected nine of their best tips.
1. Lock your shots for nice sharpness/depth in your photos and videos
Do you start shooting as soon as you open the app and point your camera at your subject? Ho, stop, halt. First, press down on your screen, right there where your subject is. This is how you turn on the so-called AE/AF lock.
What this does: you make your camera focus on the spot that is most important to bring into sharp focus. Say you’re filming a person eating ice cream on the street. Locking your shots before you start filming keeps that person in sharp focus. For example, should a car drive by in the background, the camera will stay focused on the person instead of following the car.
> Here’s how to do it: Open your camera app. Bring what you want to shoot into focus. Hold your finger where you want to focus and wait for AE/AF lock to appear on the screen, in a small yellow bar.
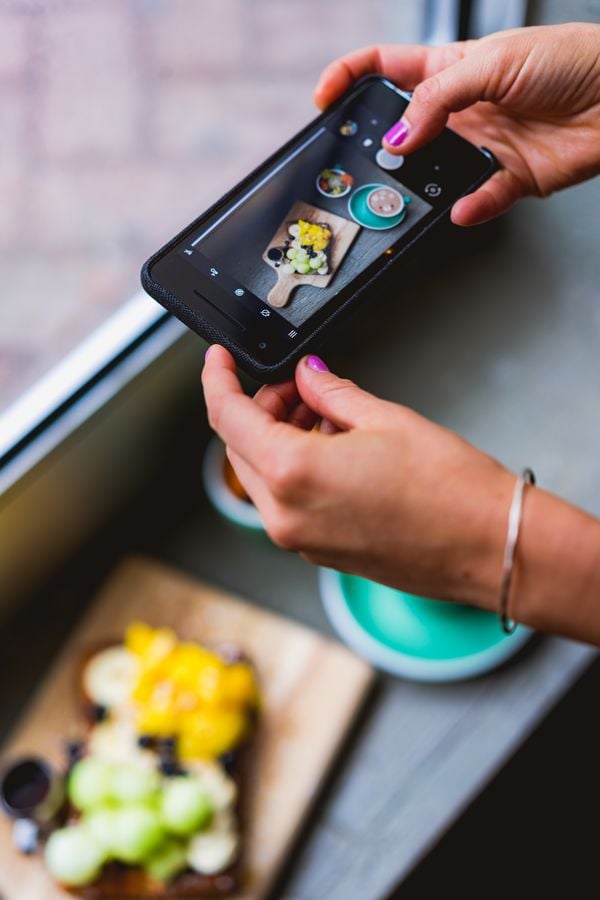 Make your videos as good as your dishes. (Image: Unsplash)
2. Pay attention to your video settings
Want nice, smooth images in your video? Try shooting your food videos in 4K at 60fps; you can adjust this in your camera settings. According to Esther, the camera then picks up details quickly and the movements in your video become nice and smooth.
> Here’s how to do it: On your iPhone, go to settings -> camera. Make sure ‘Record video’ is set to 4K at 60 fps.
3. Hold your phone upside down to film
Esther has now made it her trademark to always hold her iPhone upside down when filming. YES REALLY. Why? You can then get much closer to objects – it’s like you’re walking between the dishes on the table yourself – and you also have a better grip on your phone, so you can move the phone more smoothly. And thus shoot smoother images.
> Here’s how to do it: Hold your phone upside down and keep your middle finger and ring finger on top of your phone; your index finger and pinkies on the sides. That way you have your thumb free to press the power button.
Instagram is not loading because you did not give permission.
View this post on Instagram
4. Get close to your subject
Stand a little further away from your subject, trying to film the chefs in the kitchen from your table, for example? According to Geertje, everything within 5 meters is suitable for filming with your iPhone, from further away the image quality becomes too poor. So get as close to your subject as possible. Are you still really too far away and can’t get closer? Then you can try filming in 4K (see tip #2).
> Here’s how to do it: On your iPhone, go to settings -> camera. Make sure ‘Record video’ is set to 4K at 60 fps.
5. Filming with your iPhone? Make your camera move (and here’s how to do it skillfully)
A video gets better from moving images. Otherwise, you might as well take a photo, according to Geertje. So you want to make sure there is movement in every shot you make for your TikTok video or InstaReel. But how do you do that in a cool way? Two golden tips from Esther:
Make a c-shaped movement instead of a straight line when filming an object. So don’t go straight from top to bottom or left to right, but in a c-shaped curve. Also move with your body to make it easier.
Don’t film from left to right until the object disappears from view, but keep following the object with your camera. You also do this in a c-shaped movement.
Instagram is not loading because you did not give permission.
View this post on Instagram
6. If you’re going to vlog, use the main camera
For vlogs, it’s best to use the main camera, on the front of your phone. Why? Because it simply gives better quality. Also, always make sure that your eyes are visible at one-third in the picture (yes, even if your forehead falls off then).
> Here’s how to do it: this you know. And if not: what do you do with an iPhone? As for the line your eyes should rest on: for that, you can turn on the grid in your settings. Then go to settings -> camera -> under ‘composition’ turn on the slider for ‘grid’.
7. Use a different way to hold your iPhone when filming
We already talked about holding your iPhone upside down as well as moving images. These are cool ways Esther holds her phone to film food videos (all with the iPhone upside down):
Two hands swoop: this involves placing a flat hand on top of your iPhone – upside down we said didn’t we? – and one under your iPhone. Make a smooth, s-shaped motion (yes, this will take some practice…)
The snake: hold your iPhone upside down with the right grip (see #3) and move your iPhone between dishes on the table, as if your phone was in a boat going through an attraction.
Around the world: move around a tall object, such as a mountain of nachos or an ice cream sundae.
Table circles: the c-shaped movements we talked about in #5. Especially a cool way to capture a somewhat boring object standing on the table in an engaging way. It may help if you fold a napkin in half and place it under your iPhone, with the edge just under the phone.
 A masterpiece. (Image: Unsplash)
8. See a flicker in the image while filming? You can turn this off
Mega irritating: are you filming, you see vibrations or flickering in the image. This happens, for example, because of the kind of lights you are under. Fortunately, you can do something about it.
> Here’s how to do it: go to settings -> camera -> record video -> show PAL structures (turn off the slider).
9. NEVER forget to wipe your camera clean
Such an obvious tip, but we also forget this one regularly: clean the lens/lenses of your iPhone before filming. It’s such a shame if the image is smudged. And by that we mean both the front and back of your phone.
Will you make a cool food video using these tips? Always nice if you want to tag Culy in it: @culynl. If you want to know even more about this topic, we recommend Geertje Algera’s book: Making professional videos with your smartphone.

















 (@eo_visualz)